How to Self-Publish a Paperback on Amazon KDP: A Beginner's Roadmap
Nina Hershberger · July 27, 2026 · 4 min read
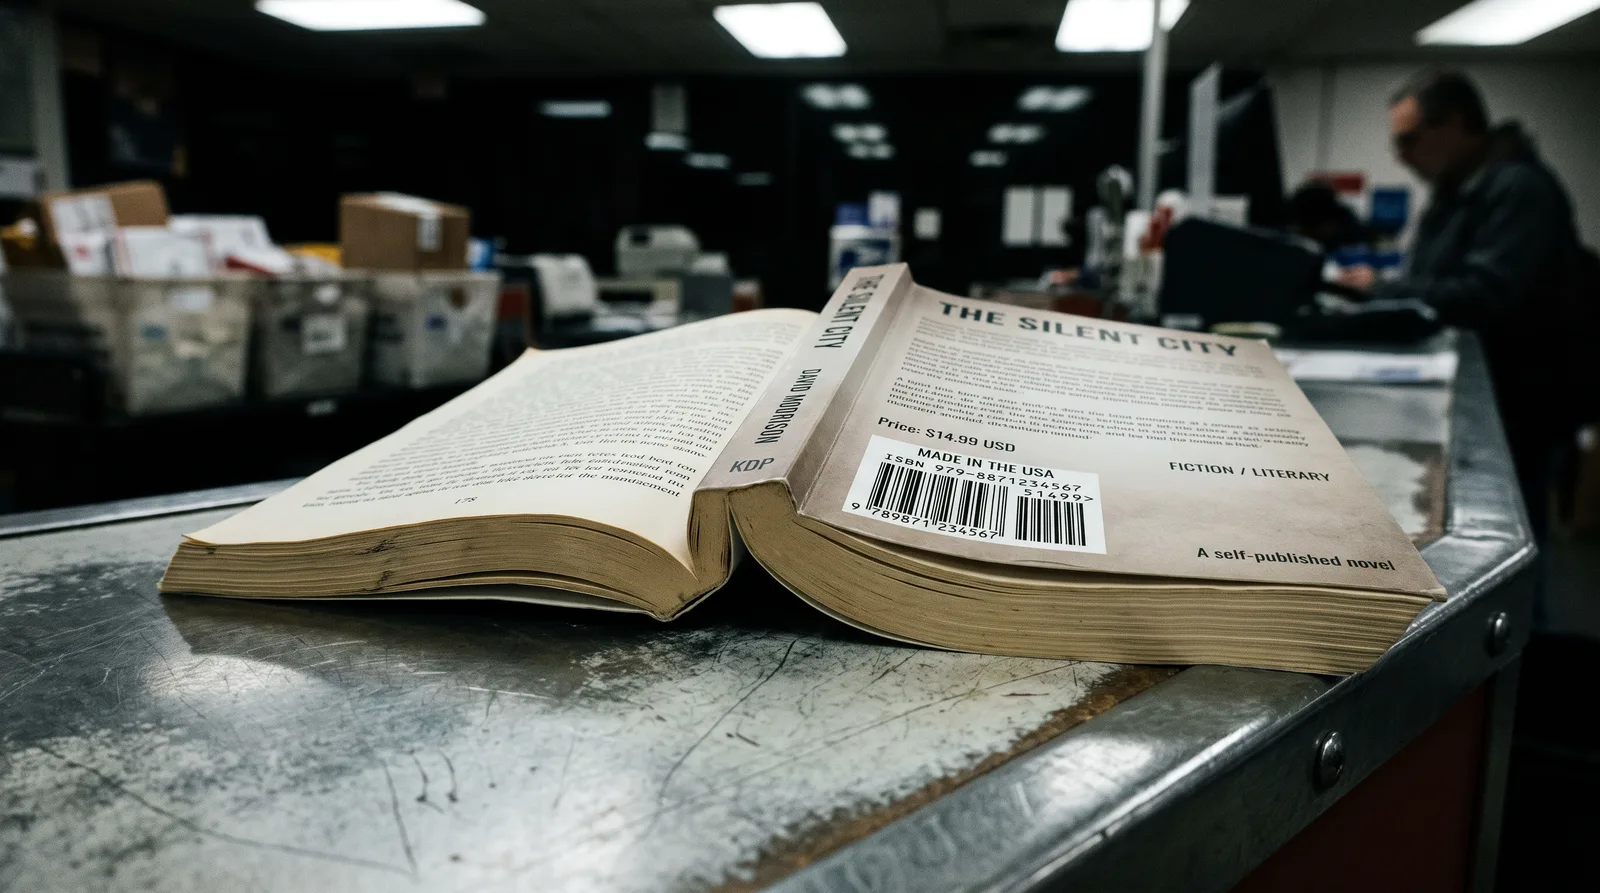
If you've been holding a finished manuscript hostage in a Word doc because the publishing part feels overwhelming, I want to set the record straight: Amazon KDP is genuinely beginner-friendly. You don't need InDesign, you don't need a design degree, and you don't need to hire anyone. What you need is a clear roadmap — and that's exactly what this is.
Here's every major stage, in order.
Stage 1: Set Up Your KDP Account
Go to kdp.amazon.com and sign in with your existing Amazon account or create one. You'll fill in your author/publisher information, tax details (a W-9 for US residents), and your bank account for royalty deposits. This takes about fifteen minutes and you only do it once. Don't skip the tax section — KDP won't release royalties until it's complete.
Stage 2: Format Your Interior
This is where most people stall, so let's keep it simple. KDP accepts Word (.docx) files directly — no conversion software required.
A few non-negotiable formatting moves before you upload:
- Set your page size first. Common trim sizes for nonfiction are 6×9 inches. In Word, go to Layout → Size → More Paper Sizes and enter your dimensions.
- Use mirror margins. Go to Layout → Margins → Custom Margins, set "Multiple Pages" to Mirror Margins, and add a gutter (0.125" is a safe starting point). This keeps your text away from the spine.
- Embed your fonts. When you save your Word file, go to File → Options → Save and check "Embed fonts in the file." Otherwise KDP may substitute a font you didn't choose.
- Use paragraph styles, not manual spacing. Hitting Enter twice between paragraphs looks fine on screen but creates unpredictable results in print. Set spacing in your paragraph style instead.
KDP also offers a free tool called the Kindle Create app, which can auto-format a Word doc into a print-ready file. It's worth trying if formatting feels like a rabbit hole.
Stage 3: Create Your Cover
Here's where people panic unnecessarily. KDP has a free, browser-based Cover Creator built right into the publishing dashboard. You pick a template, upload a photo or choose one from their library, add your title and author name, and it automatically sizes the spine and back cover based on your page count.
If you want more design control without paying a designer, Canva has an Amazon KDP paperback template built in. Size your cover at 6×9 (plus bleed and spine width — Canva walks you through it). Export as a PDF with bleed marks.
One thing beginners miss: your spine width changes with your page count. KDP gives you a spine width calculator in the cover setup screen. Use it every time, even if you've done this before.
Stage 4: Start a New Paperback Title on KDP
Click "Create" → "Paperback" in your KDP dashboard. You'll move through three tabs:
- Paperback Details — title, subtitle, author name, description, keywords, and categories. Your description is your sales copy, so treat it seriously. Choose two categories and seven keywords that match how your reader would actually search.
- Paperback Content — upload your interior file and cover, then use the online previewer to flip through every page before you move on. Check your margins, your chapter breaks, and your page numbers.
- Paperback Rights & Pricing — select "Worldwide rights" if you own them (you do, since you wrote it), then set your list price. KDP shows you the royalty you'll earn per copy before you commit. For a 6×9 paperback priced at $14.99, you typically keep around 35–40% after printing costs — the exact number depends on page count and whether the sale comes from Amazon directly or an expanded distribution channel.
Stage 5: Hit Publish — Then Wait
Once you submit, KDP reviews your files, usually within 72 hours. You'll get an email when it's live. Your book will have its own Amazon product page with a buy button, a Look Inside preview, and your author name linked to an Author Central page (set that up at authorcentral.amazon.com — it's free and adds credibility instantly).
The Part Nobody Tells You
Publishing is the finish line for your manuscript, but it's the starting line for your book. A live Amazon listing doesn't automatically bring readers. That's a whole next conversation — one that involves how you use your book as a marketing tool, not just a product. But you can't get there until the book is actually published, and now you know exactly how to do that.
If you want someone to walk you through the interior formatting, cover creation, and the KDP dashboard step by step — with nothing left to figure out on your own — that's exactly what my Publish Your Book On Amazon Yourself Course is built for.